I stenciled! I’m a stenciler! It wasn’t that hard, I just let the stencil do all the work.
I admit to staring at the blank walls of my foyer daydreaming of three quarter’s high board and batten meeting a regal yet contemporary geometric print stenciled on the wall. I’ve read tutorials, tips and even product reviews, but ultimately I’ve always been intimidated by the whole prospect. Maybe I’m spending too much time staring at blank walls?
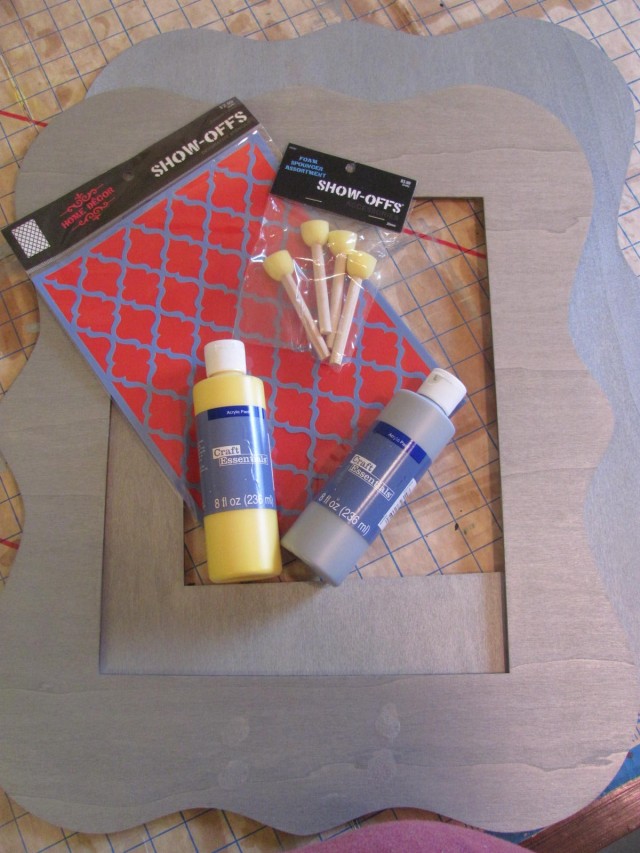
Finally I decided I ought to at least try. Don’t worry, I didn’t just start stenciling a wall. As I’ve mentioned, we have some fun projects coming up in our kitchen soon and I decided I’d like to make a collage wall the corner between the doorways to the living and dining rooms. To begin, I bought two balsa wood 11×14 frames and stencil materials. Then I jumped right in.
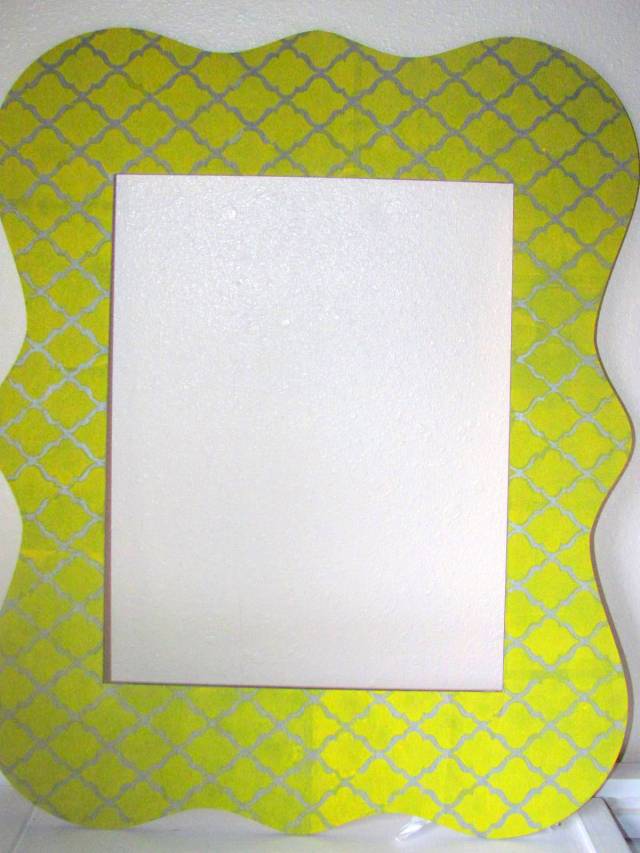
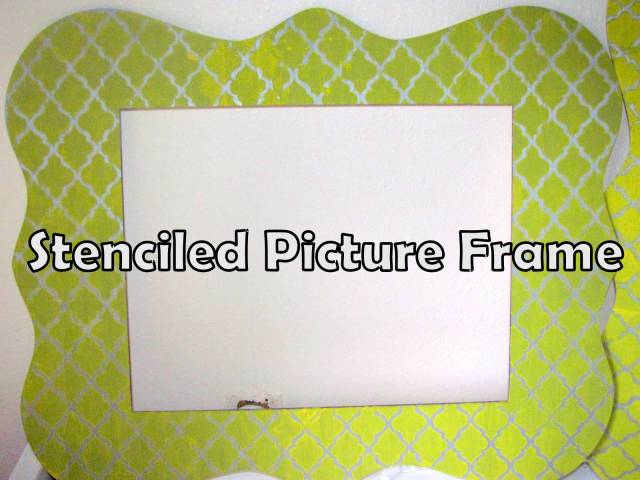
I feel as though stenciling is a crafter milestone. Or maybe that’s just me being overly proud of myself. It took me a week or so to finish them, but that’s because I could only work at strategic times. The frames didn’t turn out perfect, but I learned quite a bit:
First, I misunderstood my stencil and thought the first color I used would be the prominent color. Nope. What I had hoped would be a grey design with yellow outlines, was the opposite. It turned out fine, because what I thought was flat grey paint was actually silver metallic paint and I prefer the yellow anyway. C’est la vie.
Second, geometric prints are pretty user friendly and certainly not as complicated as they could be. That is, unless you’re covering something like a picture frame and the pattern has to match up in the end. The first frame I did, I jumped in feet first and wasn’t surprised when I got to the last panel and it didn’t match where I had started. The second time though, I was really careful and purposeful but still managed to not line up. I kind of meshed it together in a way that I don’t think is super obvious but I was still sad.
Third, and I’m not sure how I’d fix this in the future, I didn’t get an even coat with the yellow. Some parts are darker than others. As I was painting I tried to use the same amount of paint and keep an even coverage, but it didn’t work out that way.
Fourth, my top color didn’t cover as well as I had hoped. To be fair, the grey paint wasn’t what I thought it would be and ended up being much darker than originally expected. I was hoping for a bright yellow, but when it was all said and done, the yellow is much more muted. All in all I think that will actually be better because the pattern makes for a pretty busy frame, and having two large busy pattern frames on a somewhat small wall may have been overwhelming if the paint was also bright.
Then again, maybe I’m just talking myself out of painting over the whole thing and starting over. I have picture hanger kits to use for both frames and I’m ordering prints of pictures I want to put in. I also have to figure out how I’m going to actually get the pictures in there…but that’s next week’s problem. Right now, I’m super proud of my frames and my first attempt at stenciling. After our kitchen project is done, I’m going to hang up the frames then take my time building a collage around them. So if you start seeing a bunch of collage wall pins on my Pinterest boards, you’ll know why.


